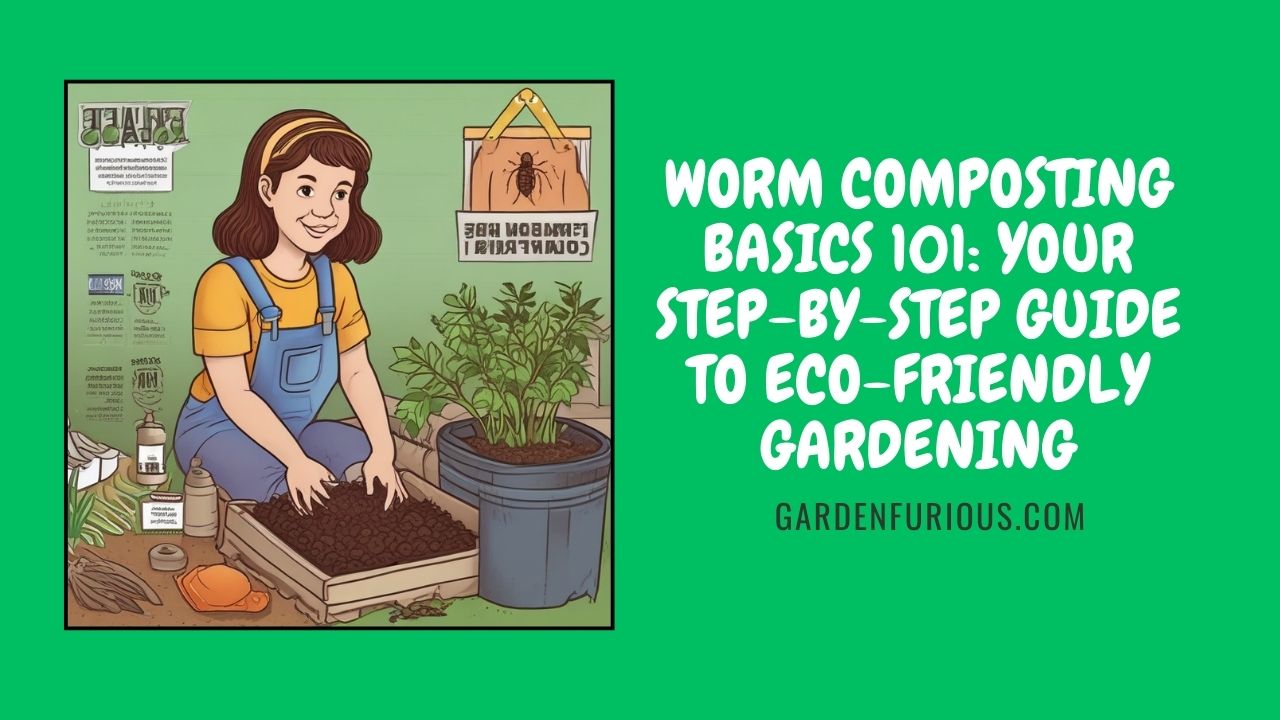
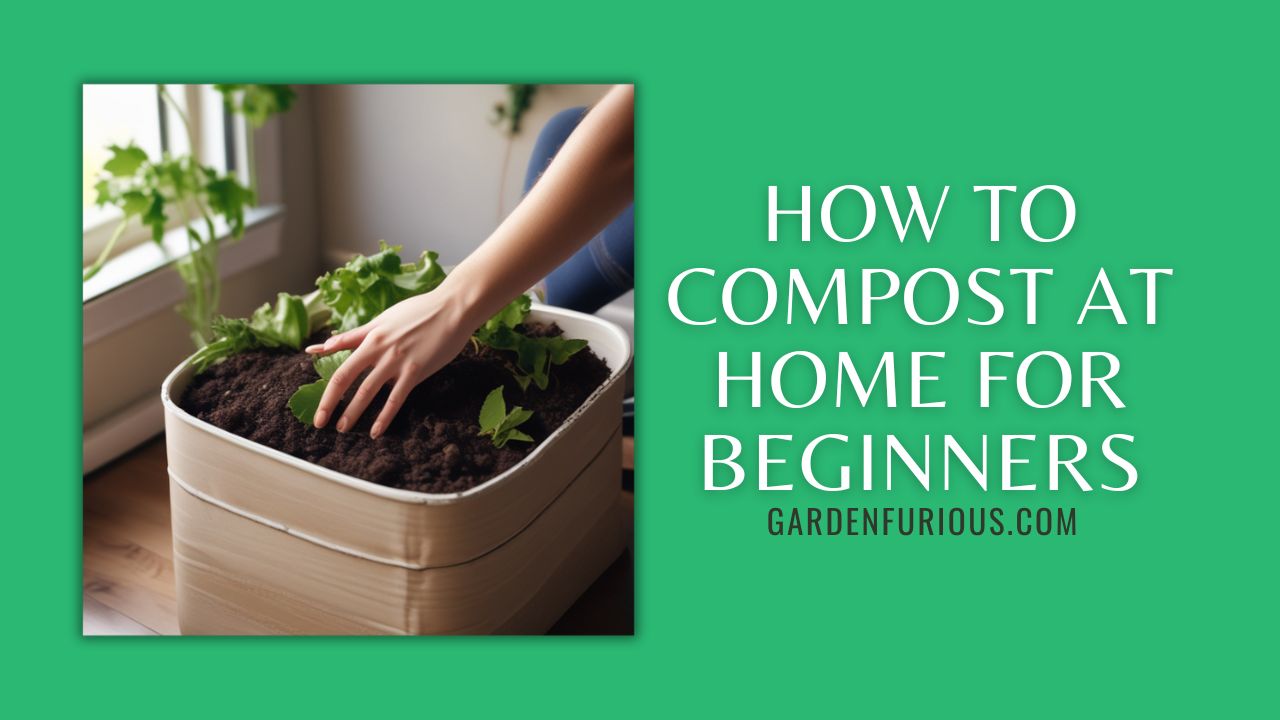
Worm composting, also known as vermiculture, is an eco-friendly process that transforms organic waste into nutrient-dense compost using worms. This method is not only great for waste reduction, but it also produces “black gold”—a term for the rich, nutrient-filled worm castings that benefit your soil.
Why Choose Worm Composting?
This composting method is faster and more efficient than traditional composting, as worms speed up the breakdown of organic materials. The resulting worm castings serve as an excellent fertilizer for gardens and houseplants, and they also help reduce methane emissions, making it a great environmental choice. It’s perfect for urban gardening since it can be done indoors or outdoors.
Getting Started: The Basics
- Choose a Worm Bin: Start by selecting or building a worm bin. It can be made from wood or plastic, and should include ventilation holes for airflow. A bin size of around 18 x 24 inches is ideal for beginners.
- Prepare the Bedding: Bacteria thrive in a moist environment. Common bedding materials include shredded newspaper, coconut coir, and straw. Ensure the bedding is damp, not soaked, to create a comfortable home for the worms.
- Add Your Worms: Red wigglers (Eisenia fetida) are the most common worms for composting. Start with about 1,000 worms, which can consume their body weight in organic matter each day.
Feeding and Maintenance
Worms thrive on fruit and vegetable scraps, coffee grounds, and crushed eggshells. Avoid feeding them meat, dairy, or citrus fruits. Make sure to chop up food scraps into small pieces to speed up the decomposition process. Keep the bin moist, turn the bedding occasionally, and ensure proper ventilation to prevent odors.
Choosing the Right Worm Species
The best species for vermiculture are red wigglers, known for their ability to break down food rapidly. Nightcrawlers (Eudrilus eugeniae) are another option, especially for hotter climates.
Common Mistakes to Avoid
Overfeeding your worms or creating too much moisture can lead to issues. Feed only what they can handle in a few days, and maintain a balanced moisture level.
Harvesting Your Compost
After 3-6 months, your bin will be ready to harvest. Move the compost to one side of the bin and stop feeding that area to encourage the worms to migrate. You can then collect the nutrient-rich castings for use in your garden or potted plants.
FAQs
How much should I feed my worms?
Feed them once or twice a week with small amounts of food.
Can I compost in extreme weather?
Yes, but in hot or cold conditions, it’s best to move the bin indoors or insulate it to protect your worms.


